How To Use Camtasia With No Stress.

Marcellus McMillian
A course creator and YouTube Content creator. Digital Marketer.
Introduction
If you're looking to create high-quality screencasts without any stress, then Camtasia is the perfect tool for you. In this blog post, we'll give you a brief overview of what Camtasia is and what it can be used for. We'll also show you how to get started with Camtasia, including how to record and edit your first screencast. Finally, we'll walk you through producing and sharing your screencast. By the end of this post, you'll be a Camtasia pro!
Camtasia can be used for a variety of purposes, including creating video tutorials, product demonstrations, training videos, and more.
Getting Started With Camtasia The Easy Way.
What can Camtasia be used for:
Camtasia can be used for a variety of purposes, including creating video tutorials, product demonstrations, training videos, and more.The benefits of CamtasiaSome of the benefits of using Camtasia include the ability to easily record your screen and audio, edit your recordings, and share them with others. Camtasia is also a very versatile tool that can be used for a variety of purposes.
Getting started with Camtasia.
Use images, audio files like podcasts, videos and much more to increase retention. Add links to other content in the site. The longer a person stays on your blog, the better the engagement and that ensures better SEO ratings which then translates to more traffic to your site.
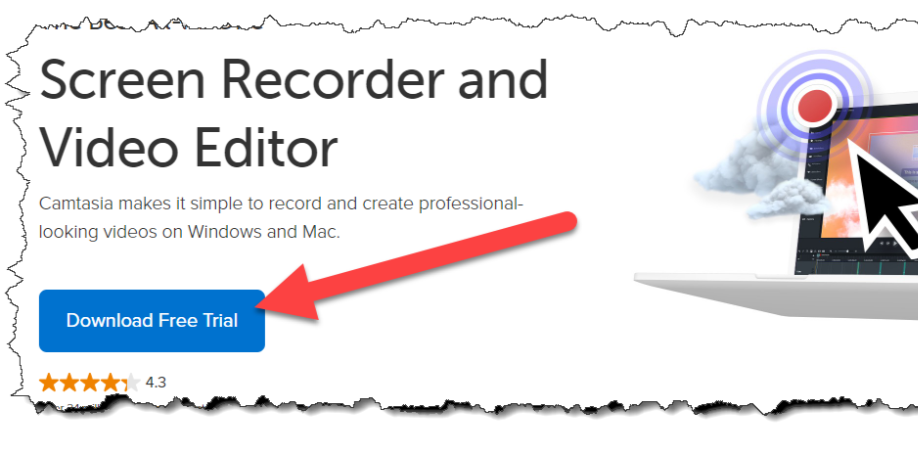
Downloading and installing Camtasia:
To get started with Camtasia, the first thing you need to do is download and install the software. You can do this by going to the Camtasia website and clicking on the "Download" button. Once the software has downloaded, double-click on the installer file and follow the prompts to install Camtasia on your computer.
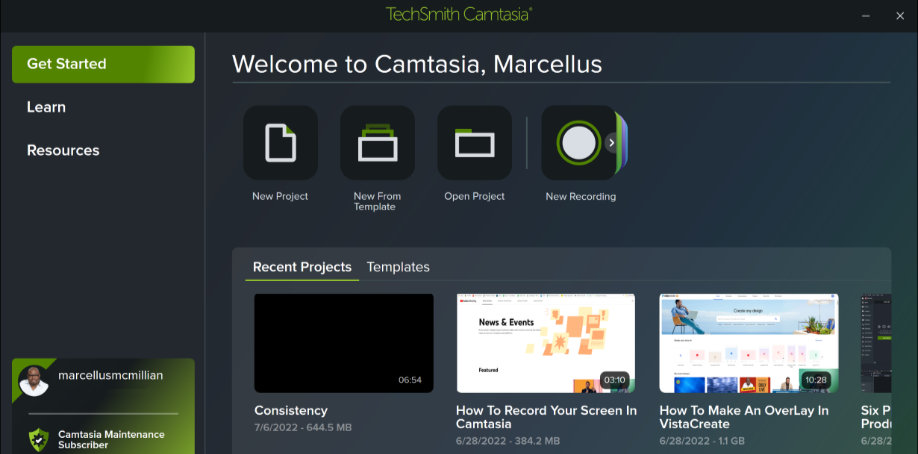
Creating a new project:
Once you have Camtasia installed, launch the program and you will be presented with the "Welcome to Camtasia" screen. From here, you can either create a new project or open an existing one. To create a new project, click on the "New Project" button. This will open up the "New Project" dialog window where you can give your project a name and choose a location to save it.
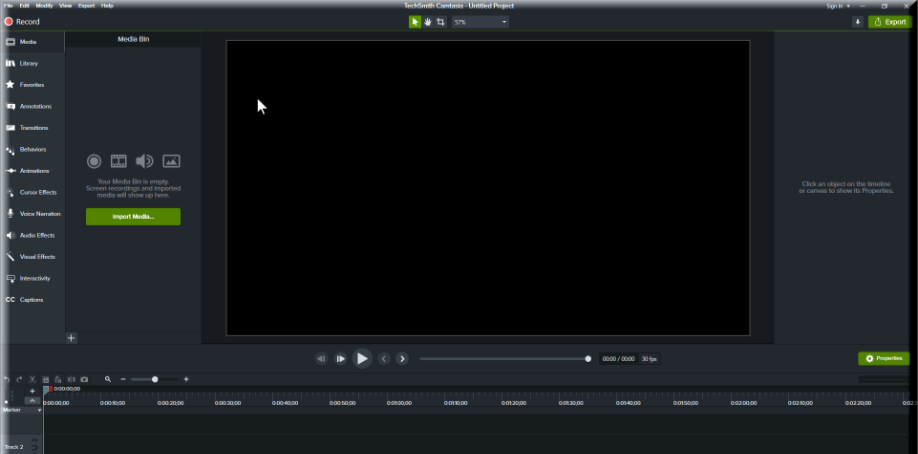
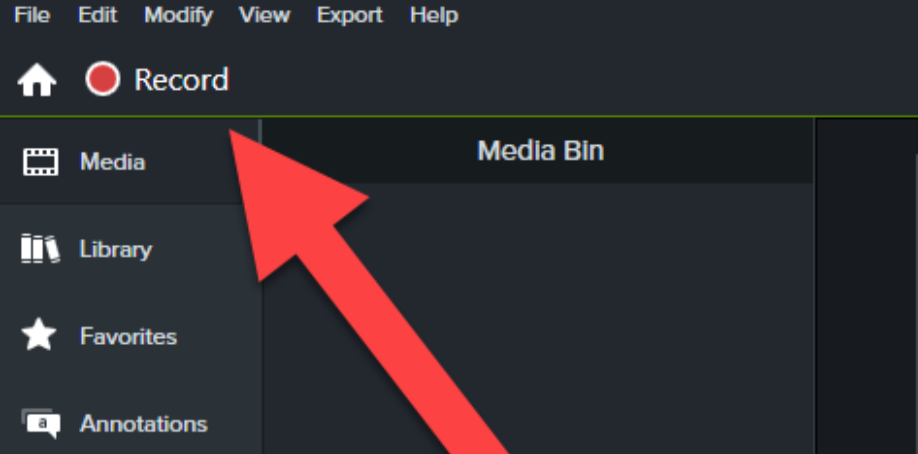
The Camtasia interface
The Camtasia interface is divided into several different areas:The preview window - This is where you will see a preview of your recording or edited video.The timeline - This is where you will add annotations, transitions, and other elements to your video.The tools panel - This contains all of the tools that you need for recording and editing your video.The media bin - This is where all of your recorded footage and other media files are stored.
Recording your first screencast.
Preparing to record
Before you start recording your screencast, it's important to prepare yourself and your environment. First, make sure you have everything you need within easy reach. You'll need your Camtasia software, of course, as well as any other materials you want to include in your screencast (e.g., PowerPoint slides, images, etc.). It's also a good idea to have a script or outline handy so that you know what you want to say and do during the recording.Once you have everything ready, it's time to set up your recording environment. If possible, find a quiet room where you won't be interrupted during the recording process. Make sure there's enough light so that your screen is visible, but not so much that it causes glare or reflections. And if you're using a microphone, test it out beforehand to make sure it's working properly.
Recording your screencast.
Now that you're prepared, it's time to start recording your screencast! Open Camtasia and create a new project. Then click on the "Record" button and choose whether you want to record your entire screen or just a portion of it. If you're only recording part of your screen, be sure to select the correct window or area before starting the recording.Once you've chosen what to record, Camtasia will give you a few options for how to record audio along with your video footage. If you're using a microphone, select that option so that your voice will be captured clearly on the recording. If not, Camtasia will still record any audio coming from your computer speakers while you're recording the video footage.When you're ready to start recording, click on the "Record" button again and Camtasia will begin capturing everything on your screen (or in the selected window). To stop recording at any time, simply click on the "Stop" button in Camtasia or press the F10 key on your keyboard.
Stopping the Recording.
As mentioned above, there are two ways to stop the recording process in Camtasia: either click on the "Stop" button in Camtasia itself or press the F10 key on your keyboard . Once stopped ,Camtasia will prompt you to save the recorded file; give it a name and choose a location on your computer where you would like to save it . That's all there is to it! You've successfully recorded your first screencast using Camtasia studio .
Editing your screencast.
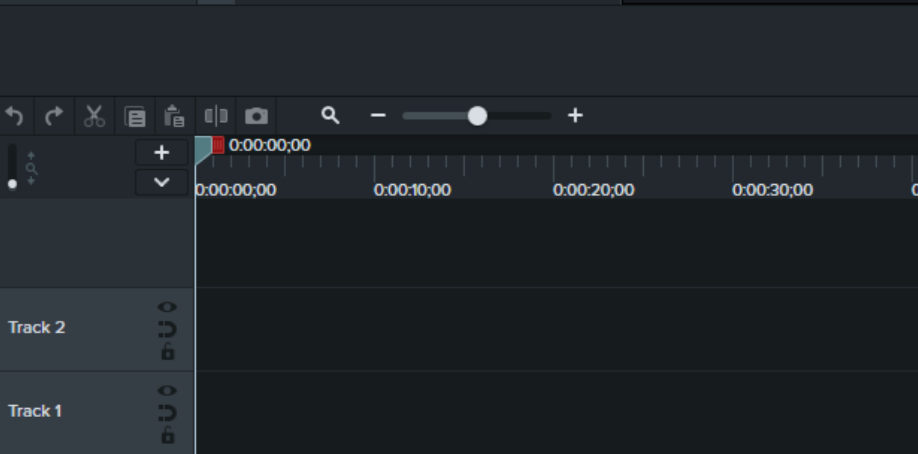
The Timeline
The timeline is where you will do the majority of your editing. This is where you will add annotations, transitions, and generally put your finishing touches on the screencast. The timeline is divided into tracks, with each track corresponding to a different element in the screencast (e.g., video, audio, annotations).To add an element to the timeline, simply drag it from the media bin onto the desired track. You can then use the trim tool to cut out any unwanted sections.
Adding annotations.
Annotations are a great way to add additional information or highlight important parts of your screencast. Camtasia provides a variety of annotation tools, such as arrows, shapes, and callouts.To add an annotation, simply select the desired annotation tool and click-and-drag to draw it onto the screen. You can then use the trim tool to resize or move the annotation as needed.
Adding transitions
Transitions are used to smooth out changes between scenes or shots in your screencast. Camtasia provides a variety of transition types, such as fades, wipes, and slides.To add a transition, simply drag it from the media bin onto the beginning or end of a clip in the timeline. You can then adjust its duration using the trim tool.
Producing and sharing your screencast.
Producing your screencast:
After you have recorded and edited your screencast, it is time to produce it. This simply means exporting it in a format that can be played back by anyone. Camtasia offers several different production options, each with its own settings.The most important setting is the output format. The two most common formats are MP4 and WMV. Both are widely supported by media players and web browsers. If you're not sure which format to choose, MP4 is a good all-around option.Other settings include the quality of the video, the resolution, and the frame rate. You can usually leave these at their default values unless you have specific requirements. For example, if you're recording a fast-paced game you may want to increase the frame rate to make sure everything is captured smoothly.Once you've chosen your settings, click the "Produce" button and wait for Camtasia to export your screencast. This may take a few minutes depending on the length of your video and the quality settings you've chosen.
Sharing your screencast.
Once your screencast has been produced, it's time to share it with the world! There are several ways to do this:The easiest way is to upload it to a video sharing site like YouTube or Vimeo . Just create an account on one of these sites and follow their instructions for uploading videos .Another option is to host the video on your own website . This requires a little more work but gives you more control over how people access and view your video .You can also share your screencast directly from Camtasia Studio . Just click on "Share" in the main menu and choose how you want to share your video . The most common options are email , YouTube , and Facebook .
Conclusion.
Camtasia is an excellent screencasting tool that offers a wide range of features and benefits. It is easy to get started with Camtasia and the interface is user-friendly. Recording your first screencast is simple and only requires a few minutes of preparation. Editing your screencast is also straightforward and can be done using the timeline, annotations, and transitions. Finally, producing and sharing your screencast is quick and easy.
Originally published July 25, 2022